Temperature OLED Display EASY
A digital thermometer that displays real-time temperature and humidity readings on an OLED screen. Perfect for weather monitoring or environmental projects.
Materials Used
Wiring Instructions
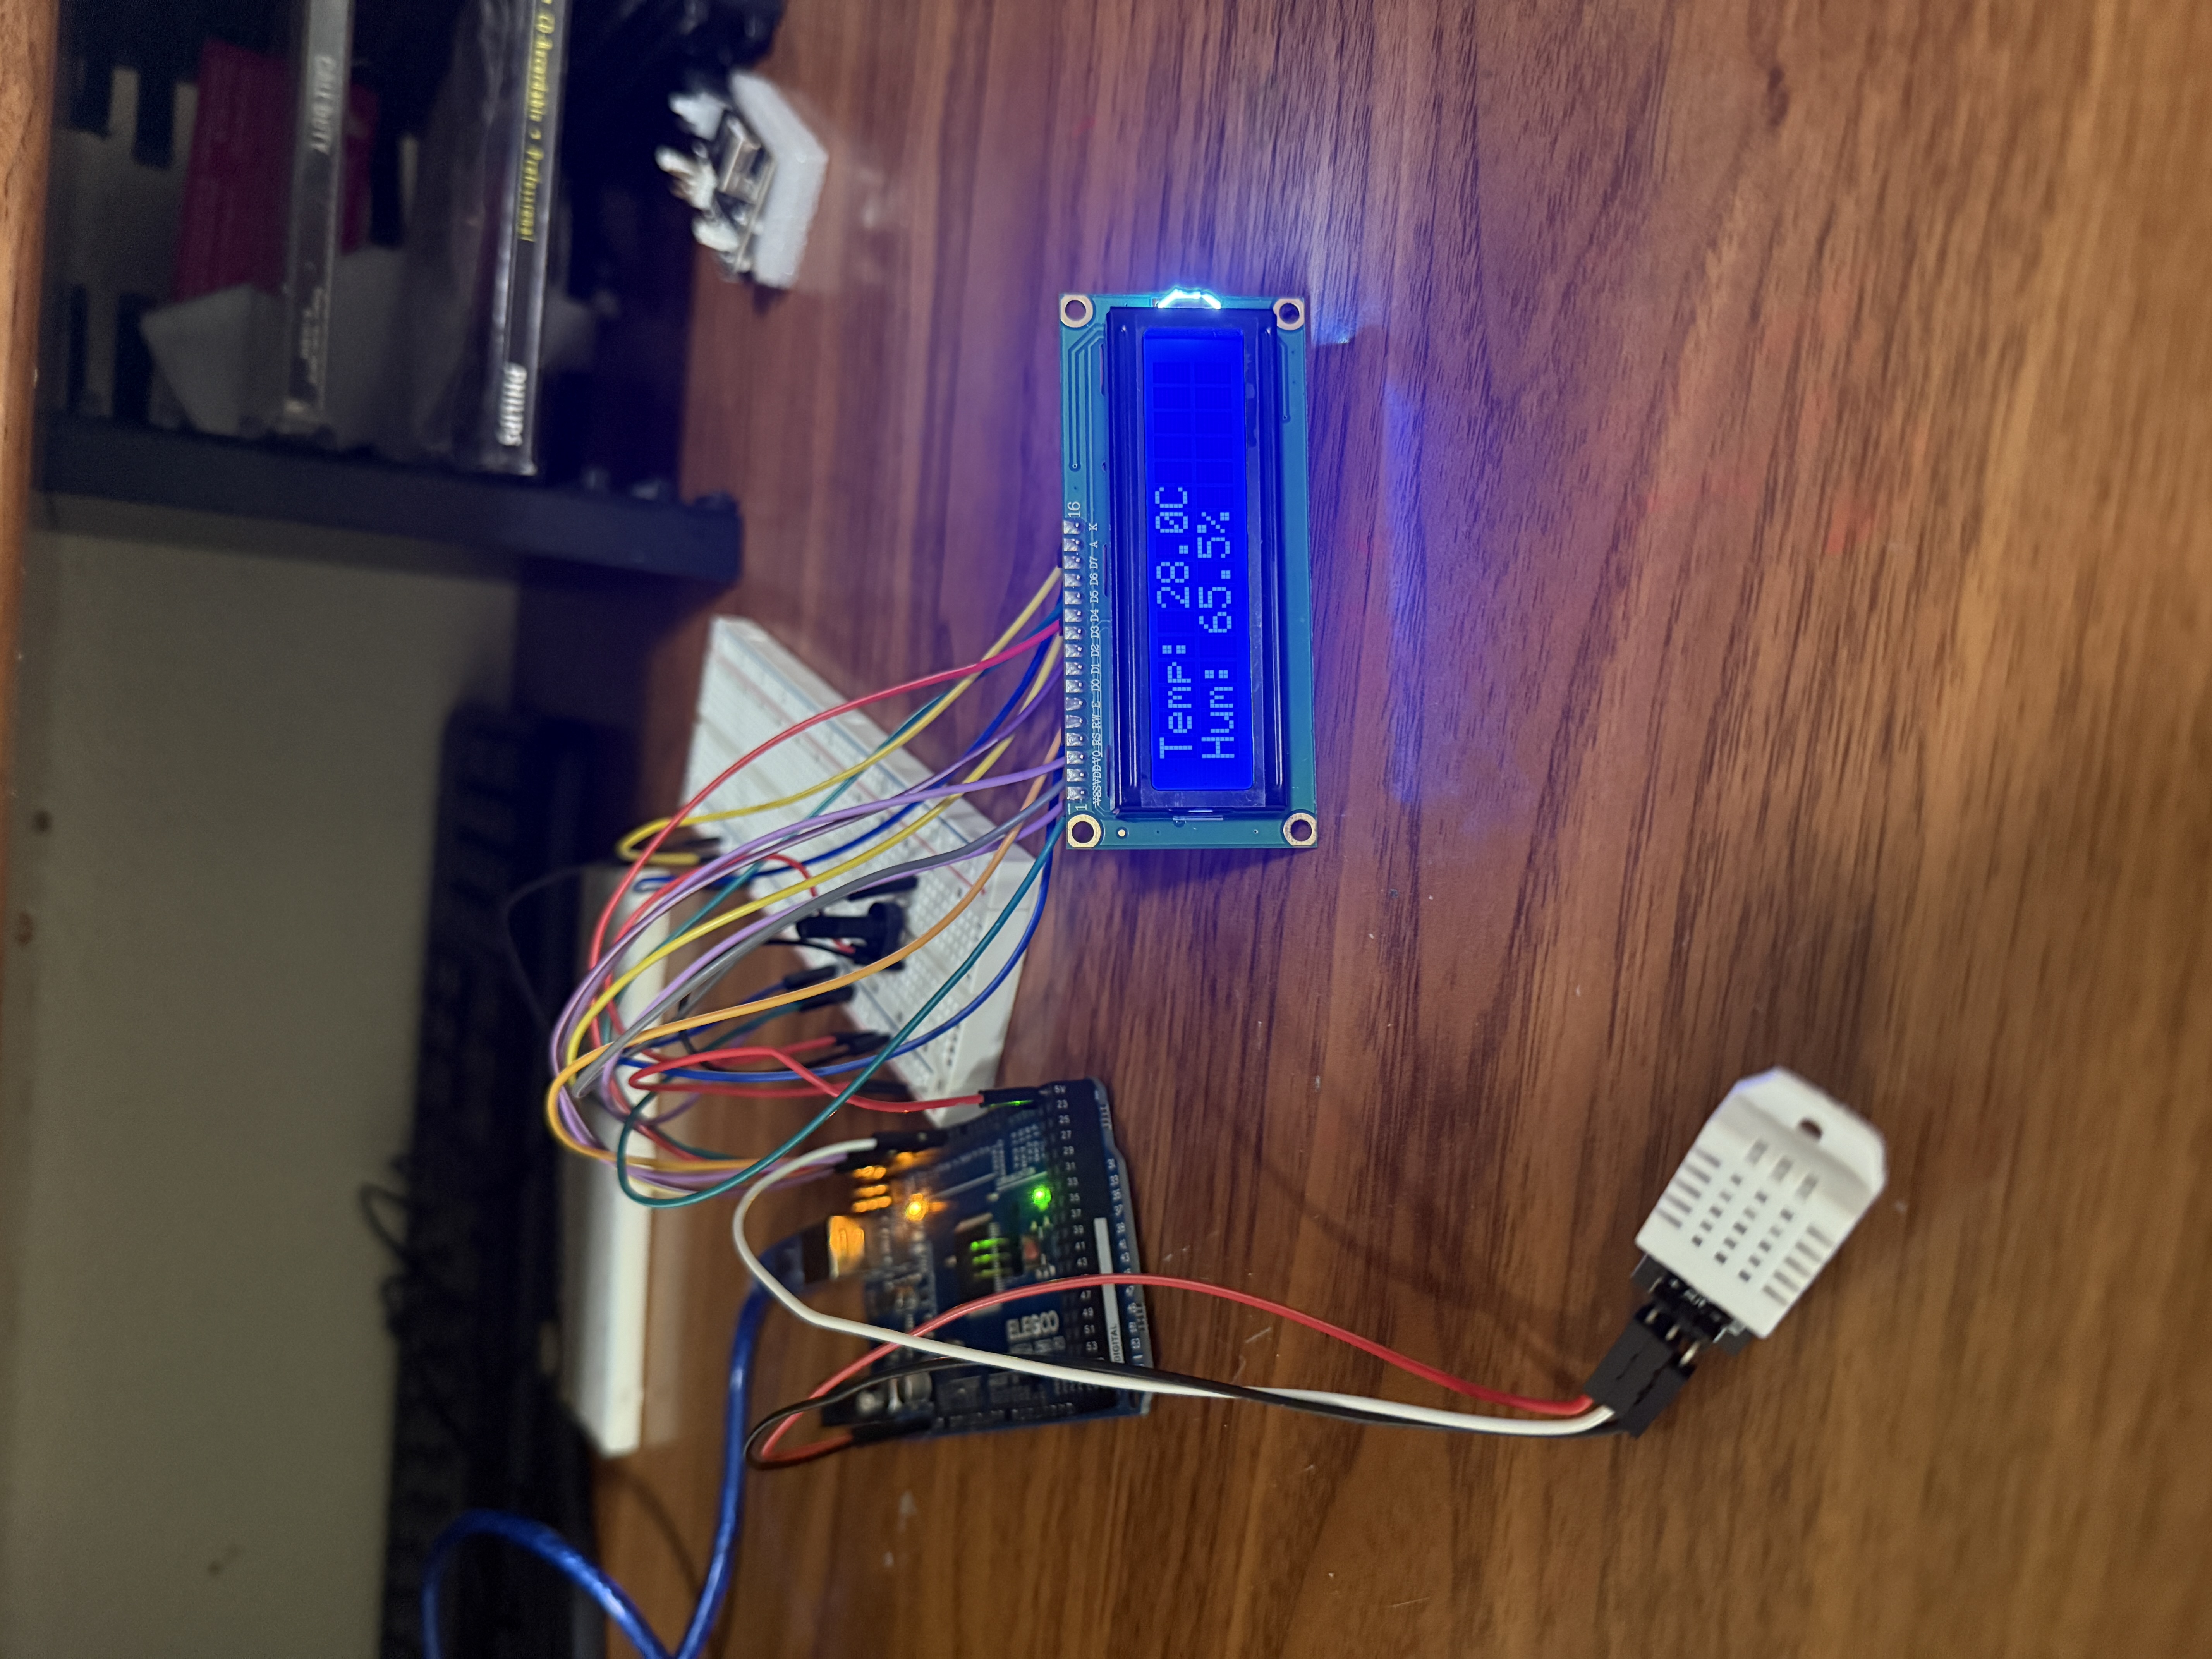
LCD: RS=7, E=8, D4-D7=9-12, GND=RW/VSS/GND, 5V=VCC
DHT Sensor: DATA=Pin 2, VCC=5V, GND=GND
Project Photos & Diagram

Arduino Code
// Temperature OLED Display
#include <Wire.h>
#include <Adafruit_GFX.h>
#include <Adafruit_SSD1306.h>
#include <DHT.h>

#define SCREEN_WIDTH 128
#define SCREEN_HEIGHT 64
#define OLED_RESET -1

#define DHTPIN 2
#define DHTTYPE DHT22

Adafruit_SSD1306 display(SCREEN_WIDTH, SCREEN_HEIGHT, &Wire, OLED_RESET);
DHT dht(DHTPIN, DHTTYPE);

void setup() {
  Serial.begin(9600);
  dht.begin();

  if(!display.begin(SSD1306_SWITCHCAPVCC, 0x3C)) {
    Serial.println(F("SSD1306 allocation failed"));
    for(;;);
  }

  display.clearDisplay();
  display.setTextSize(1);
  display.setTextColor(SSD1306_WHITE);
}

void loop() {
  float humidity = dht.readHumidity();
  float temperature = dht.readTemperature();

  if (isnan(humidity) || isnan(temperature)) {
    Serial.println("Failed to read from DHT sensor!");
    return;
  }

  display.clearDisplay();

  display.setTextSize(2);
  display.setCursor(0, 0);
  display.println("Temp:");
  display.print(temperature);
  display.println(" C");

  display.setTextSize(2);
  display.setCursor(0, 35);
  display.println("Humid:");
  display.print(humidity);
  display.println(" %");

  display.display();

  Serial.print("Temperature: ");
  Serial.print(temperature);
  Serial.print(" C, Humidity: ");
  Serial.print(humidity);
  Serial.println(" %");

  delay(2000);
}
🔧 Troubleshooting
OLED display not working? Try these fixes:
- Verify I2C connections: SDA→Pin 20 (Mega) or A4 (Uno), SCL→Pin 21 (Mega) or A5 (Uno), VCC→5V, GND→GND.
- Check I2C address: Run I2C scanner sketch - OLED is usually 0x3C or 0x3D. Update code if different.
- Install required libraries: Adafruit_GFX and Adafruit_SSD1306 from Library Manager.
- Ensure display.display() is called after updating text - this refreshes the screen.
Use File → Examples → Wire → i2c_scanner to detect your OLED's address. Update the address (0x3C) in your code if scanner shows different value.
- Verify DHT sensor type matches code: DHT11 vs DHT22 in #define DHTTYPE line.
- Check for "nan" (Not a Number) output - indicates failed sensor read or loose connection.
- Wait 2 seconds after power-on before first reading - DHT sensors need initialization time.
- Avoid placing sensor near heat sources (laptop, sunlight) that affect readings.
DHT11: ±2°C accuracy. DHT22: ±0.5°C accuracy. If readings seem consistently off, add/subtract offset in code: temperature + 2.0
- Call display.clearDisplay() before updating text each loop cycle.
- Set text size and cursor position before printing: display.setTextSize(2); display.setCursor(0,0);
- Check screen resolution matches code: Common sizes are 128x64 or 128x32.
- Ensure display.display() is called AFTER all text commands to refresh screen.
For 128x64 OLED: Text size 2 fits ~10 characters per line, 4 lines total. Plan your layout before coding!
What You Learned
Electrical Engineering Applications
This project introduces I2C (Inter-Integrated Circuit) serial communication, OLED display technology, digital sensor interfacing (DHT22), and data visualization techniques. You learned about two-wire communication protocols, display buffer management, graphics rendering on embedded systems, and combining multiple I2C devices on a shared bus. These concepts are essential in instrumentation, data acquisition systems, and embedded user interfaces.
Broader Technology Context
Environmental monitoring with digital displays is fundamental to weather stations, smart thermostats, industrial sensors, greenhouse automation, laboratory equipment, and wearable health devices. OLED technology appears in smartphones, smartwatches, automotive dashboards, and portable electronics due to its low power consumption and high contrast. Understanding sensor-to-display pipelines prepares you for IoT dashboards, telemetry systems, and real-time data visualization in professional applications.