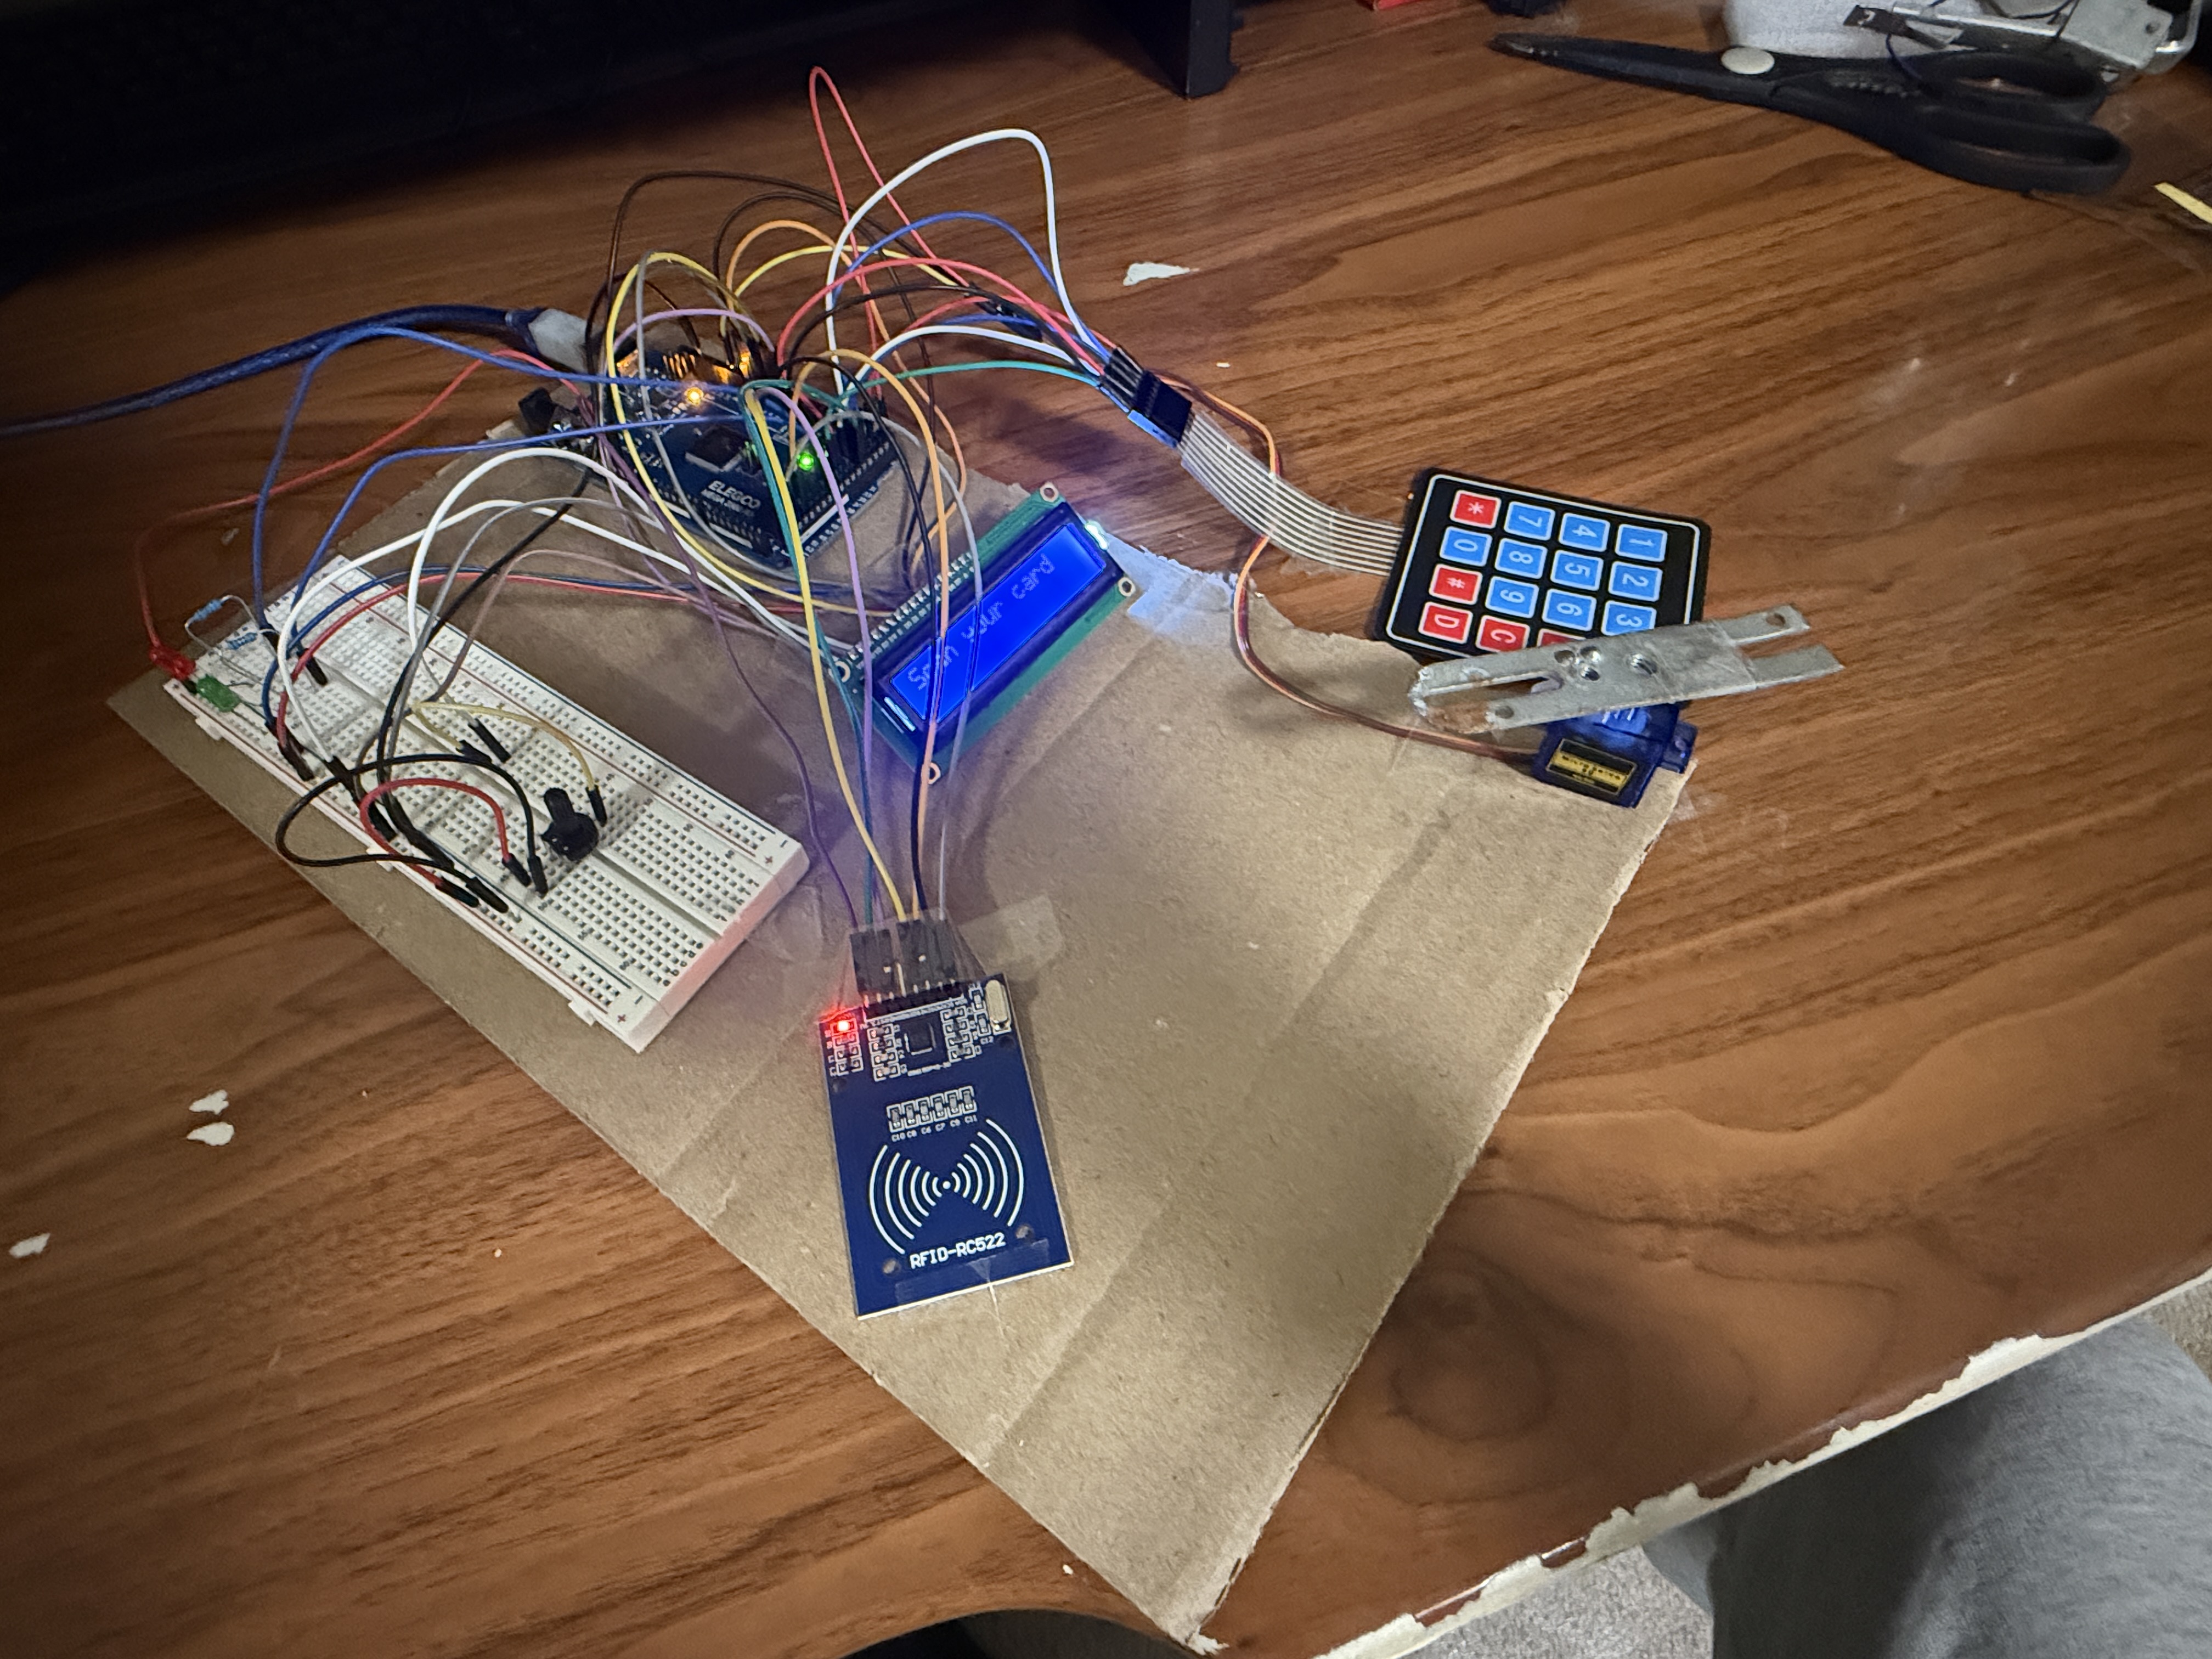
RFID Lock System MEDIUM
A secure access control system using RFID cards. The system reads RFID tags and unlocks a servo-controlled latch when an authorized card is detected.
Materials Used
Wiring Instructions
RFID (RC522): SS = 53, RST = 31 (SPI interface)
LCD (16x2): RS,E,D4–D7 = pins 2–7 (Parallel wiring, no I2C)
Servo Motor: Pin 9
Green LED: Pin 41
Red LED: Pin 40
Keypad Rows: 24,26,28,30 | Cols: 32,34,36,38
Project Photos & Demo

⚠️ Fritzing Diagram Note: There is a small error in the diagram above. The short leg (cathode) of both LEDs should be connected to the far-end ground rail, not the rail shown. Additionally, there should be a connection from the far-end negative rail to the GND pin of the Arduino, which is not reflected in this diagram. Please ensure these corrections when building the circuit.
Arduino Code
// RFID Lock System
#include <SPI.h>
#include <MFRC522.h>
#include <Servo.h>

#define RST_PIN 9
#define SS_PIN 10
#define SERVO_PIN 3
#define GREEN_LED 4
#define RED_LED 5
#define BUZZER 6

MFRC522 rfid(SS_PIN, RST_PIN);
Servo doorServo;

// Authorized card UID
byte authorizedUID[] = {0xDE, 0xAD, 0xBE, 0xEF};

void setup() {
  Serial.begin(9600);
  SPI.begin();
  rfid.PCD_Init();

  doorServo.attach(SERVO_PIN);
  doorServo.write(0); // Locked position

  pinMode(GREEN_LED, OUTPUT);
  pinMode(RED_LED, OUTPUT);
  pinMode(BUZZER, OUTPUT);

  digitalWrite(RED_LED, HIGH); // Initially locked
  Serial.println("RFID Lock System Ready");
}

void loop() {
  if (!rfid.PICC_IsNewCardPresent() || !rfid.PICC_ReadCardSerial()) {
    return;
  }

  if (checkAccess(rfid.uid.uidByte, rfid.uid.size)) {
    grantAccess();
  } else {
    denyAccess();
  }

  rfid.PICC_HaltA();
}

bool checkAccess(byte *uid, byte uidSize) {
  if (uidSize != sizeof(authorizedUID)) return false;

  for (byte i = 0; i < uidSize; i++) {
    if (uid[i] != authorizedUID[i]) return false;
  }
  return true;
}

void grantAccess() {
  Serial.println("Access Granted!");
  digitalWrite(RED_LED, LOW);
  digitalWrite(GREEN_LED, HIGH);
  tone(BUZZER, 1000, 200);

  doorServo.write(90); // Unlock
  delay(3000);
  doorServo.write(0);  // Lock

  digitalWrite(GREEN_LED, LOW);
  digitalWrite(RED_LED, HIGH);
}

void denyAccess() {
  Serial.println("Access Denied!");
  tone(BUZZER, 300, 500);
  for (int i = 0; i < 3; i++) {
    digitalWrite(RED_LED, LOW);
    delay(200);
    digitalWrite(RED_LED, HIGH);
    delay(200);
  }
}
🔧 Troubleshooting
RFID not reading cards? Check these common solutions:
- Verify SPI connections: RST→Pin 9, SS→Pin 10, MOSI→Pin 11, MISO→Pin 12, SCK→Pin 13, plus 3.3V and GND.
- Check power - RC522 requires 3.3V, NOT 5V! Using 5V will damage the module.
- Install MFRC522 library: Sketch → Include Library → Manage Libraries → search "MFRC522".
- Hold card within 1-2cm of reader antenna - farther distances won't work.
The RC522 is a 3.3V device. Connect VCC to 3.3V pin on Arduino, not 5V! Double-check before powering on.
- Read your card's UID first using Serial Monitor to print the actual UID values.
- Update authorizedUID[] array with your card's exact UID hex values.
- Use File → Examples → MFRC522 → DumpInfo to read your card's complete information.
Each RFID card has a unique ID. You must update the authorizedUID array in the code with YOUR card's specific values.
- Check servo signal wire is connected to correct pin (pin 3 in this code).
- Ensure servo has separate 5V power - servos draw significant current.
- Verify Servo.h library is included and servo.attach() is called in setup().
If servo jitters, use external 5V supply for servo power. Keep grounds connected between Arduino and external supply.
What You Learned
Electrical Engineering Applications
This project introduces wireless communication protocols (RFID at 13.56 MHz), the SPI serial interface, servo motor PWM control, and authentication systems. You learned about unique identifier (UID) verification, byte-level data comparison, electromagnetic coupling between reader and tags, and how to integrate multiple subsystems (RFID reader, servo, LEDs, buzzer) into a cohesive access control system. These principles are essential in security systems, payment terminals, and identification technology.
Broader Technology Context
RFID technology is the backbone of modern access control, inventory management, and contactless payment systems. This same architecture appears in office key cards, public transit passes, hotel room locks, warehouse logistics, library book tracking, livestock identification, and NFC-based mobile payments. Understanding authentication and authorization at the hardware level is fundamental to cybersecurity, IoT device security, and building secure embedded systems.